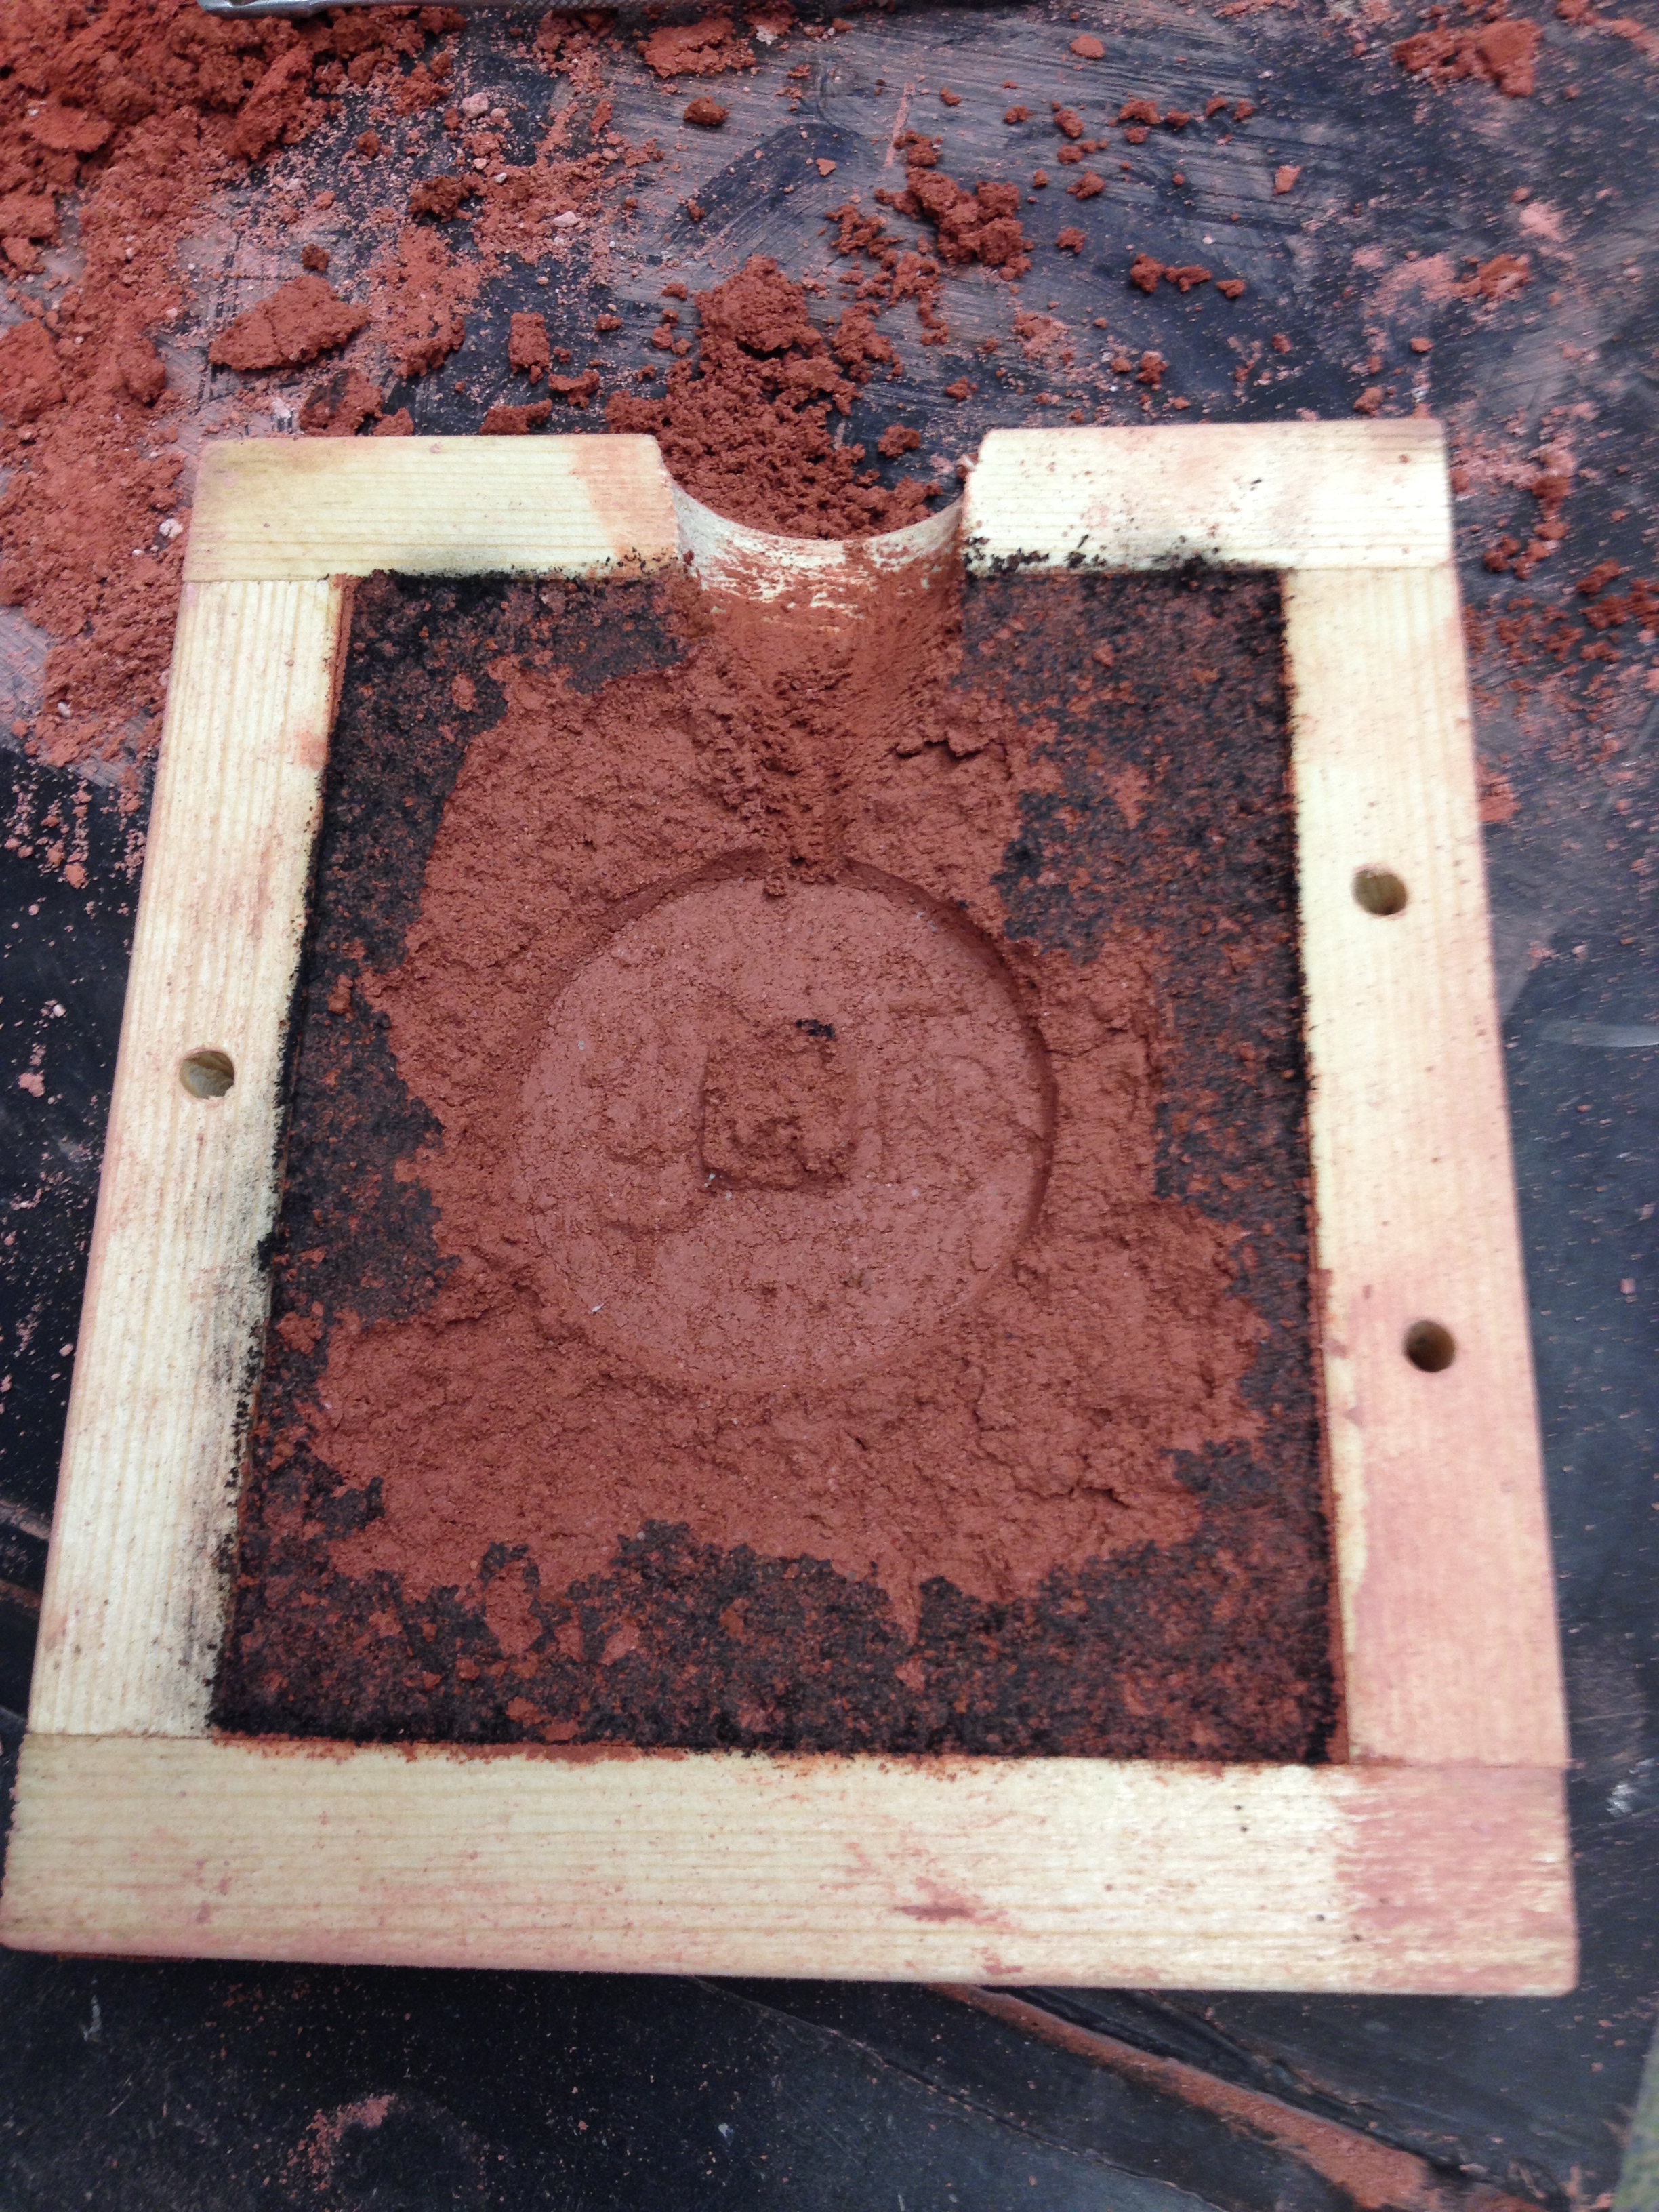
Oct. 14, 2014 Making Sand Mold
NAME: Yijun, Michelle, Diana, Tonny BeentjesTable of Contents
DATE AND TIME: Oct. 10,14 2014 9:00-11:00 AM
LOCATION: Columbia University, Chandler Hall Rm. 260 - Manhattan, NY
SUBJECT: Making Sand Mold
- We stared to prepare the sand for the mold. The recipe is based on BnF p118v.
- Add 3 cups of sand (ground bricks) in a bowl through a sieve
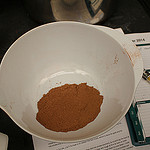
- Liquid binder: Mix 3/4 cups of sal ammoniac water (pre-prepared by Prof. Smith) and two table spoons of Brandy in a cup.
- Added the liquid binder into the sand gradually and mix them in a bowl using a wooden spoon. Many clumps started to appear. Tonny believed it was b/c it was too dry. So we added more liquid binder. Half of the volume as last time, which equals to 3/8 cups of sal ammoniac water and one table spoon of Brandy.
- Tonny puts the sand on lab platform and rolled it using a rolling pin. He explained that the ideal sand should leave a good detailed print of your hand without anything that left out in youhand. It turned out our sand was too wet. The longer it rested on the platform, the more water came to the surface of the sand.

Testing sand in hand - We added more dry sand to the sand “dough” and mix them using a rolling pin
- .

- It still seemed too wet, so we added a little less that ¼ cup more dry sand. Now the texture felt similar to how the ms describes the ideal sand: holding together but falling apart easily.
- Testing it, the sand seemed to leave a detailed impression of our hands, but it didn’t stick to our hands.
- We started to make sand mold using Michelle’s plaster model.
- We used 100% “real wood” lump charcoal, ground, to dust the patterns/models to prevent the sand from sticking on the plaster.
- We put the plaster model upside down and filled sand into the wooden frame.
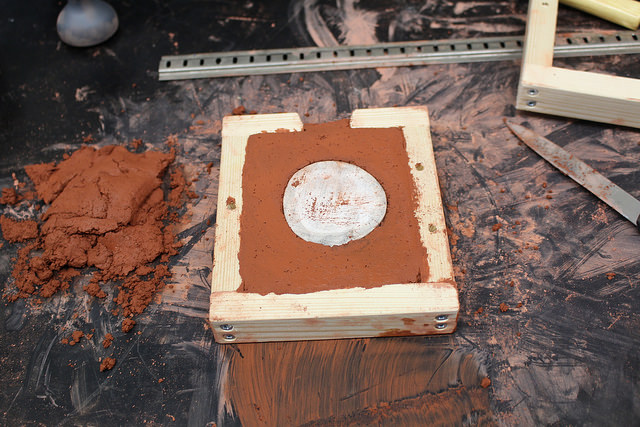
- The sand should be added gradually and pressed hard to make should there was no room left between the sand and the plaster model.
- You needed to use your shoulder when pressing, just like massaging.
- We used the hammer carefully to press the sand and to flatten the surface of the sand mold.
- We filled more sand than the frame allowed. Then we carved the surplus using a knife.
- We flipped this half of the mold over and brushed the inner surface with charcoal to allow it to come apart more easily later.


- We filled in the second half of the mold using the same strategy but with sand of a different composition. This composition is from old molds used in later experiments undertaken by Prof. Smith and Tonny Beentjes. This kind of sand felt very soft, like flour.
- 5 cups sifted sand with ¾ cup water/sal amoniac solution and 2 tablespoons brandy.
- Mixed by hand this time, not by spoon, so we could feel.
- Added leftovers from first batch to this batch.
- Slowly added more liquids in the same ratio as above (¾ cup sal amoniac solution to 2 T brandy), but slightly less than the same amount again--we used about ¾ of it.
- Pressed sand into the bottom half of the new mold. Too wet?
- 1 whole cup more dry sand added, gradually.
- We started to re-fill Michelle’s sand mold and I started to do mine.
- I repeated Michelle’s process but I forgot to dust my plaster using charcoal when filling the first half of the mold.
- When Tonny tried to open my box mold, the separation was not so clean and some sand left on the other side.
- Tonny cut the tunnel for pouring and used sand to protect the wood frame.
- Put the box frame in the fume hood and wait for it to dry.
Oct. 16, 2014 Tin and Silver Casting
NAME: All class, Tonny, UbadoDATE AND TIME: Oct. 16 2014 9:00-12:30 PM
LOCATION: Ubaldo Vitali’s workshop188 Hilton Ave, Maplewood, NJ 07040
SUBJECT: Tin and Silver Casting in Ubaldo’s workshop
Tin casting
- We arrived at the workshop and had doughnut as the substitute for bread and butter to protect ourselves from inhaling bad smoke in casting.
- Tonny and Ubaldo heated the sand mold boxes for about 15 minutes in the kiln for them to dry
- .

- Use the tallow candle to smoke the sand mold in order to provide a fine layer of smoke that make the separation of the two halves of the box easier. But the tallow candle was too pure to produce enough smoke, so Ubaldo used his own instrument.

Smoke with tallow candle 
Smoke with Ubaldo's instrument 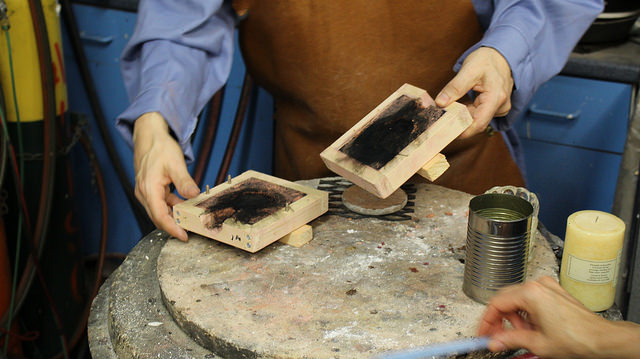
Smoked sand mold box - We melt the tin ingots over the fire. The tin/pewter contains 1% of silver. The tin ingots were very soft and could be bent into a circle by Tonny.
- Tonny added rosin to remove the slag floating on the melted tin. Once he added the rosin, there came a lot of white smoke/mist.
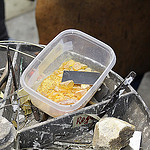
rosin - The melted tin felt very heavy when I stirred it, yet it was in liquid form. The surface was shining, I thought it was because the temperature on the surface was lower.
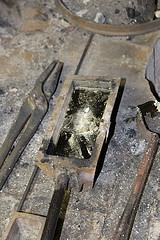
- Put the sand mold boxes on a pan with a slight angle. This was to make sure the air won’t block the entrance.
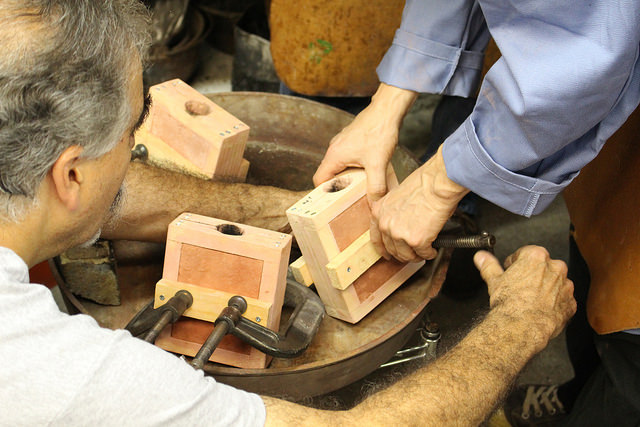
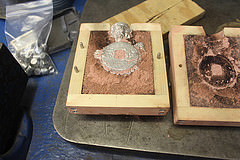
- Tonny and Ubaldo poured tin into three sand mold boxes, including mine (Yijun).
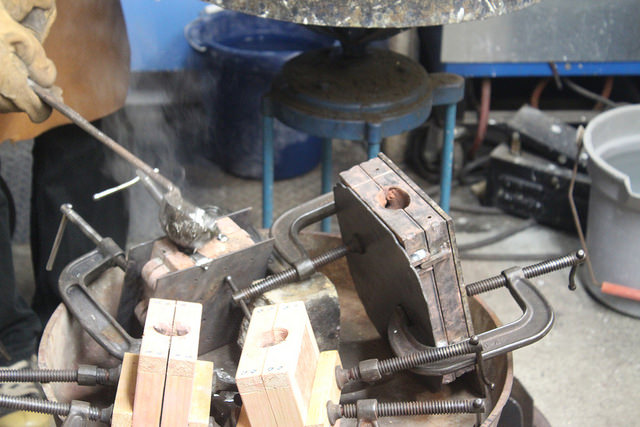
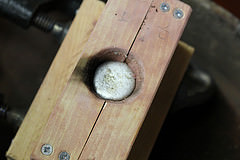
- The tin casting was quit successful. There was some bubbles at one surface of my coin. This was because the mold was not dry enough.
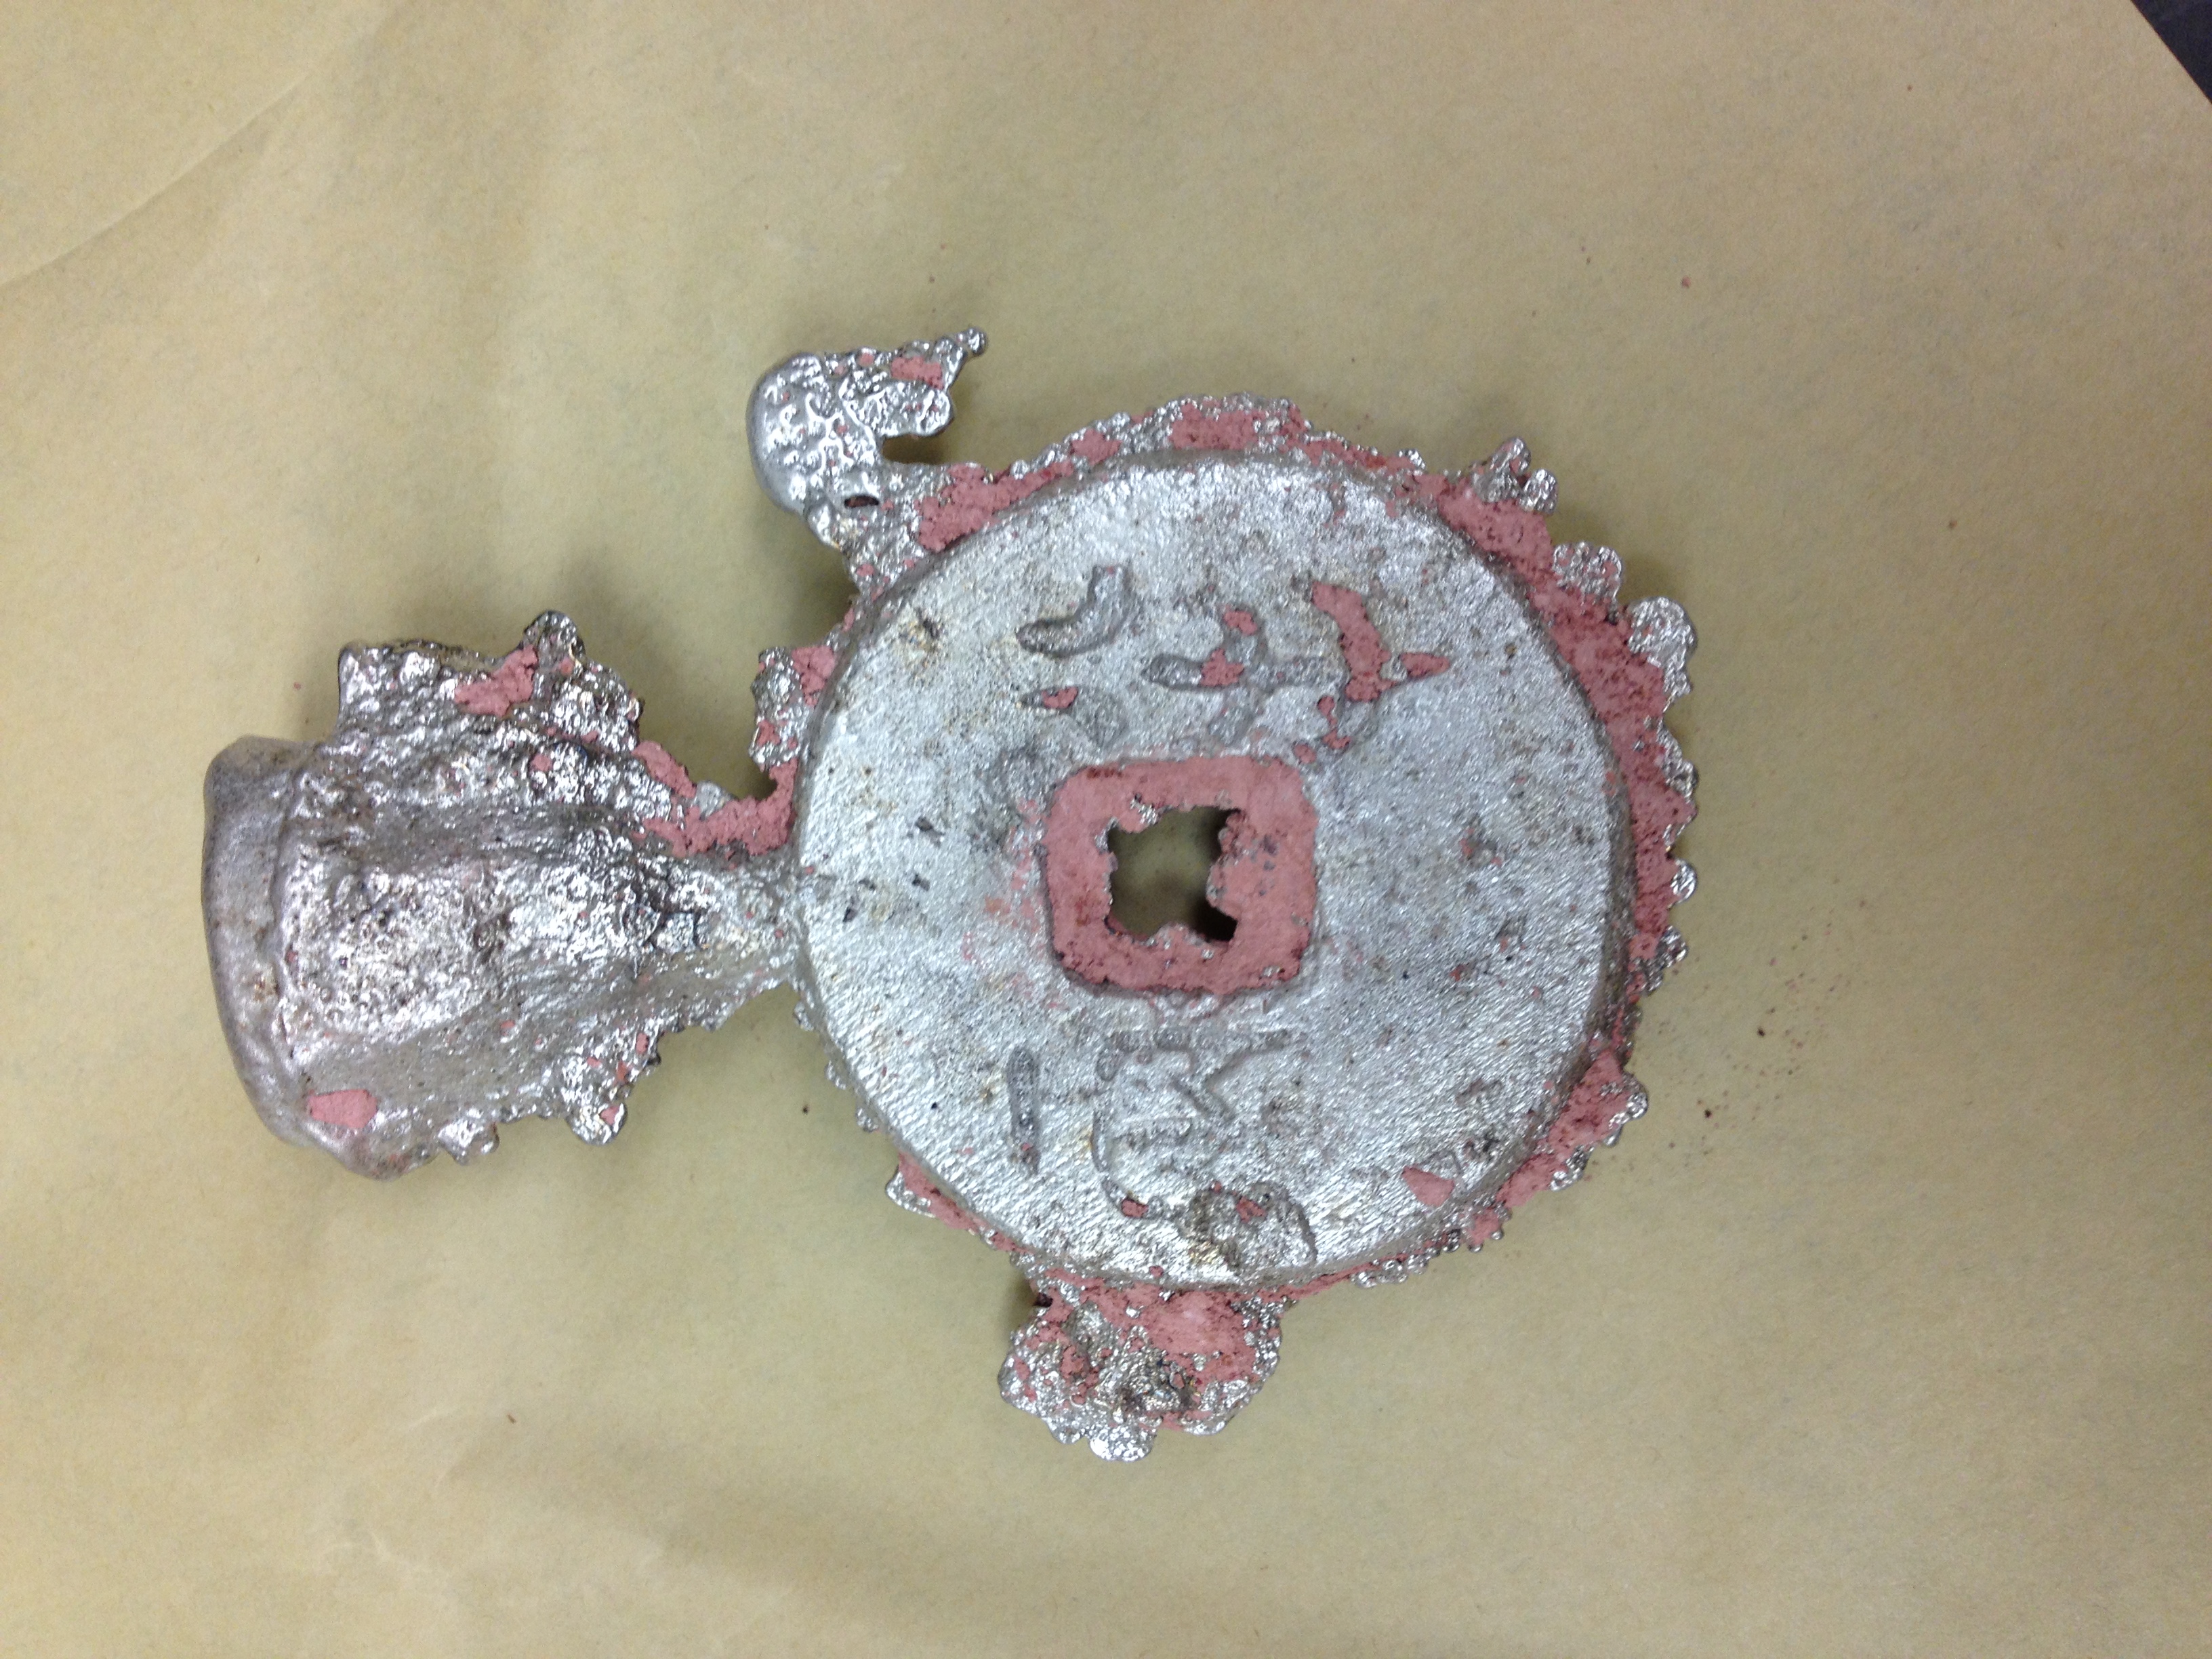
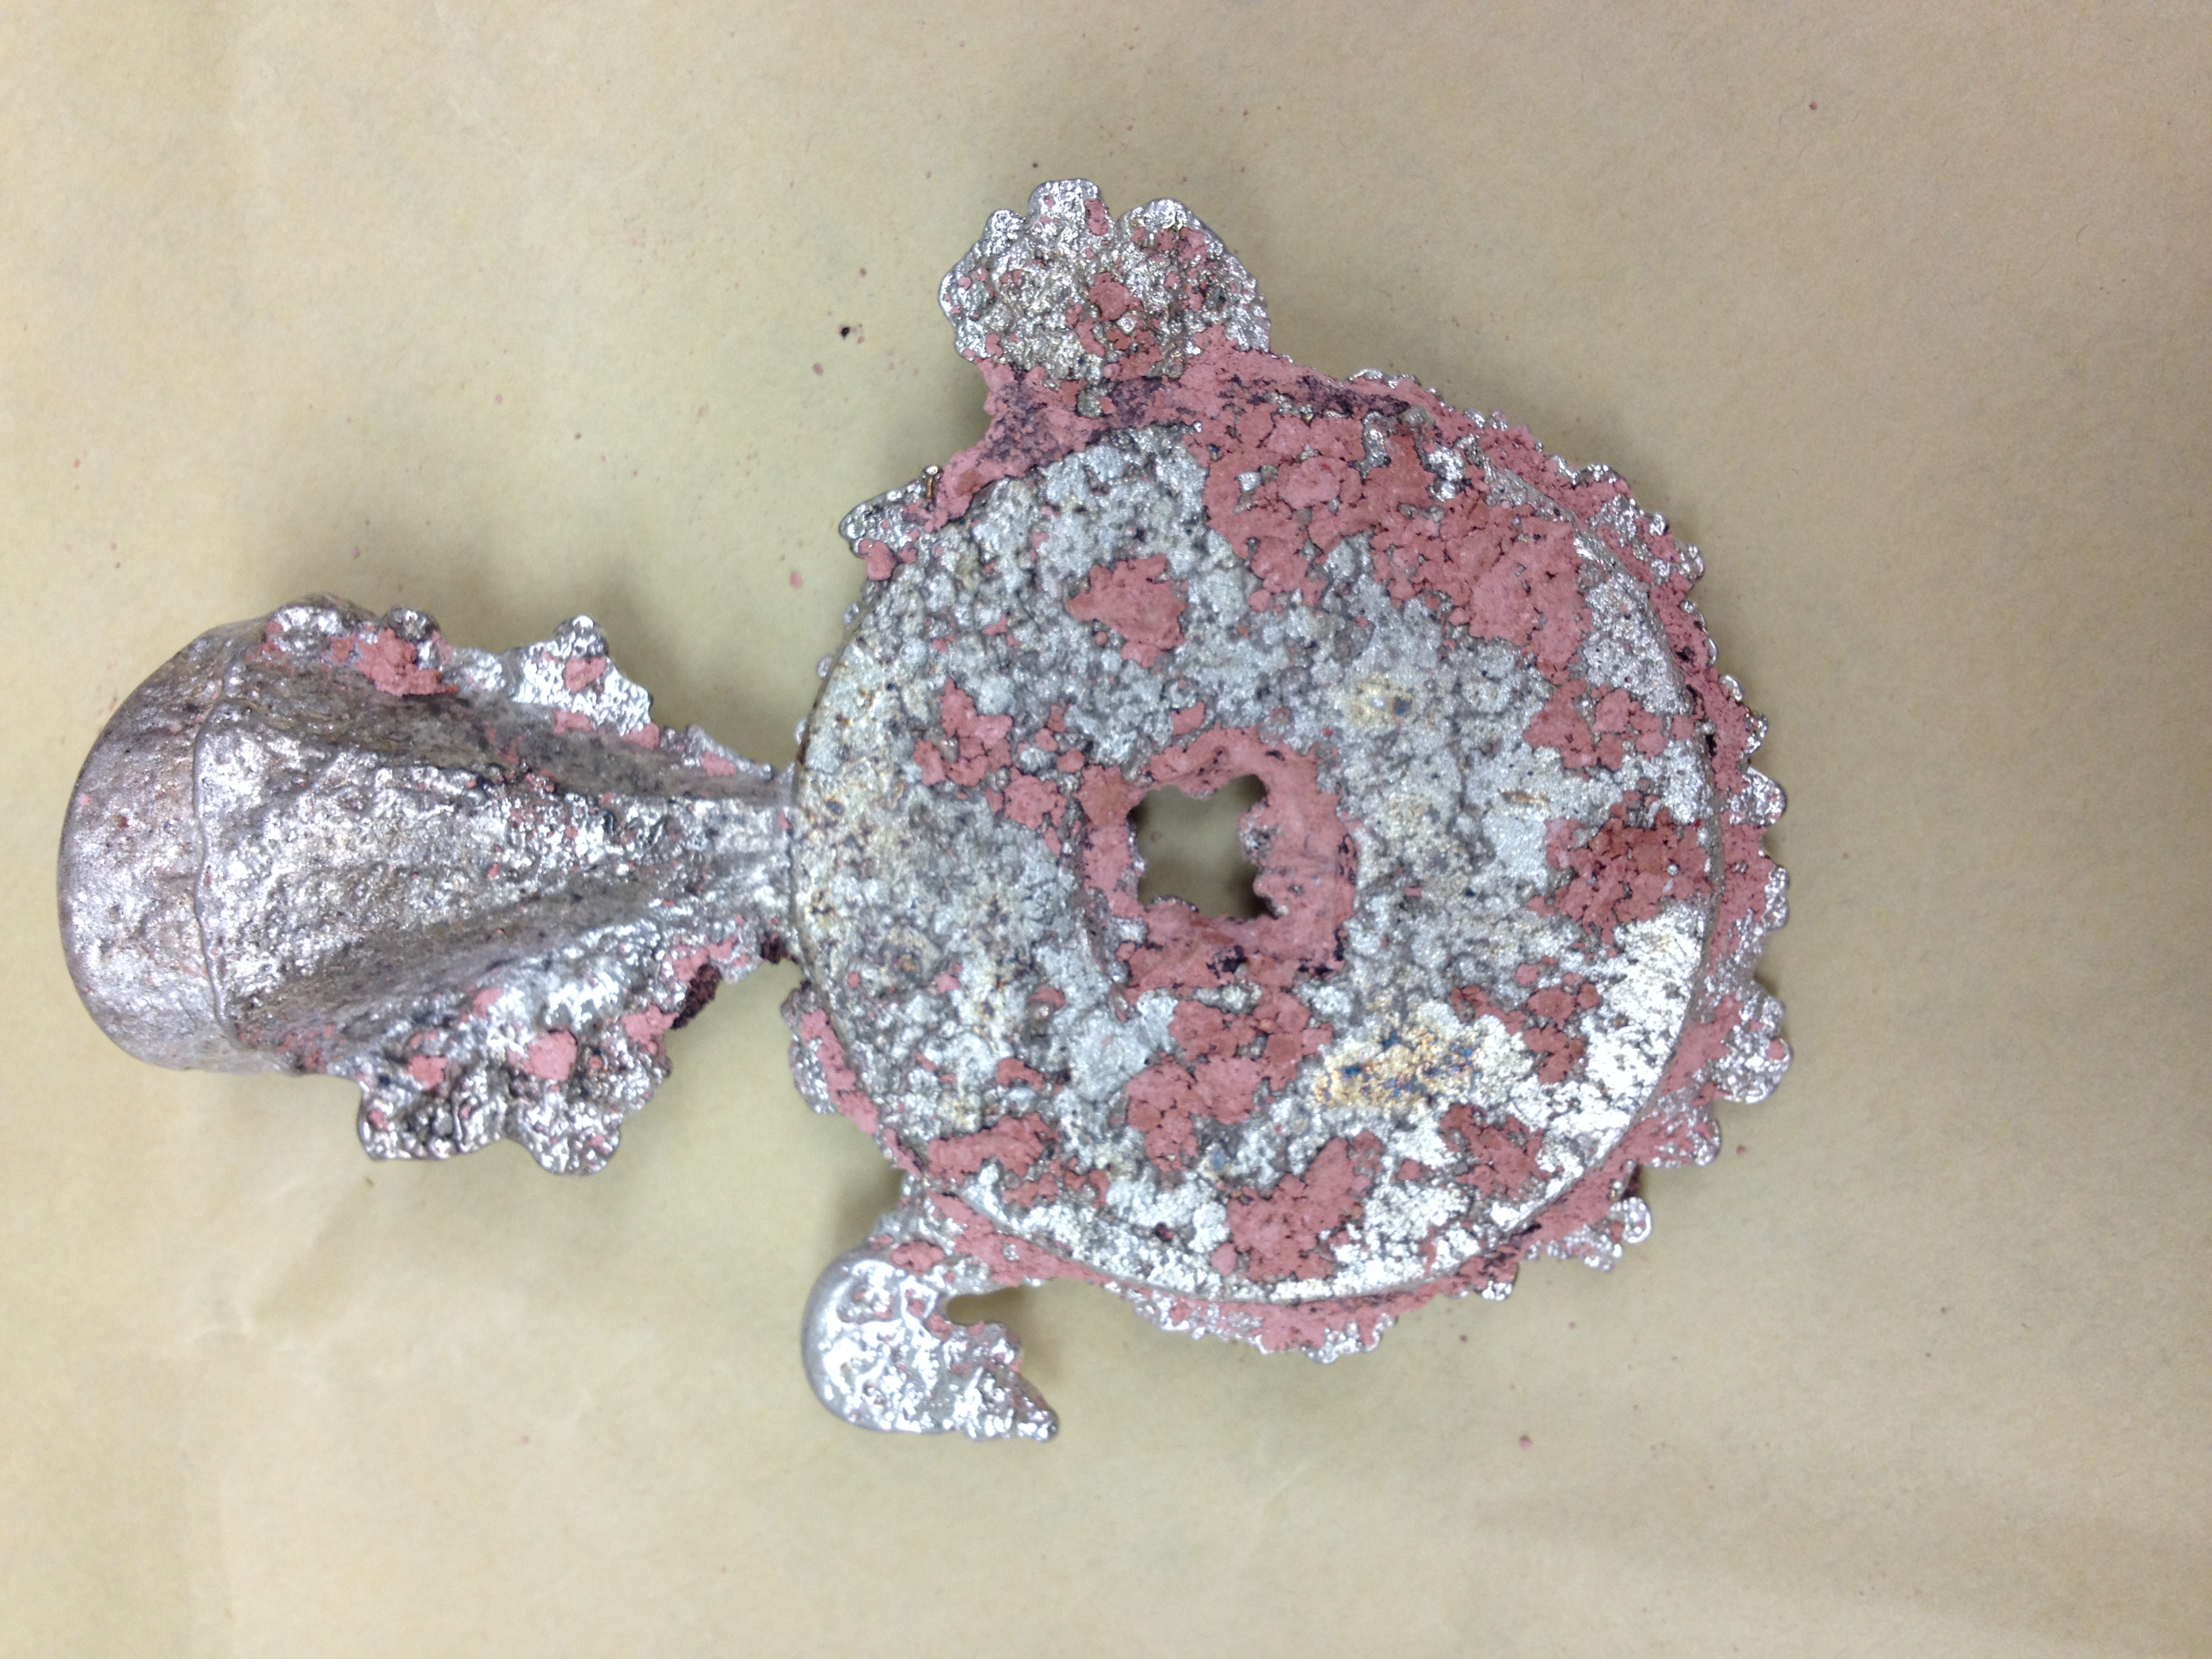
Bubbles on one side of my portrait metal
Silver casting
- We repeat the process of heating and smoking the sand mold boxes.
- The sand mold boxes for silver casting were heated longer since silver has a much higher melting point (1000 ℃). So the mold should be hot enough to prevent silver from solidifying while pouring.
- Put a wood that can catch fire at the entrance of the sand mold while pouring silver. The wood caught fire and burnt the oxygen in the silver to prevent bubbles in the casted work.
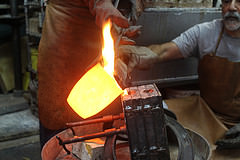
- The silver casting was not so successful. The moist in the mold evaporated and created bubbles that blocked the channel of pouring. Although the last mold made from Delft clay was really dry, bubble still exist.
- We toughed the commercial sand used by Ubaldo, it was oily—they used oil as binder instead of water. So maybe we should try oil to prevent the bubbles.
Discussion
- From this fieldwork we found out that what was important in casting was not the metal, but the sand and its binders. We have to make sure the sand was at the right moisture that could bind together well and leaves detailed print when we make the mold, but when we cast, we need to make sure the sand is dry enough. Maybe that is why the author of the MS used alcohol—to make sure it can evaporate quickly.
